
So you've just spent the last MONTH placing diamond after diamond onto your giant canvas. The end result is absolutely jaw-dropping. Now what you must be thinking is, "How the heck am I going to frame this thing?"
Have no fear! Paint With Diamonds offers Premium DIY Natural Wood Stretcher Bars for your finished diamond painting canvas! Check them out here and follow along with the guide below to frame your DP in no time!
Buy Stretcher Bars ➡️ http://bit.ly/PWDStretchers
Watch Our How To Video
Follow The Instructions Below
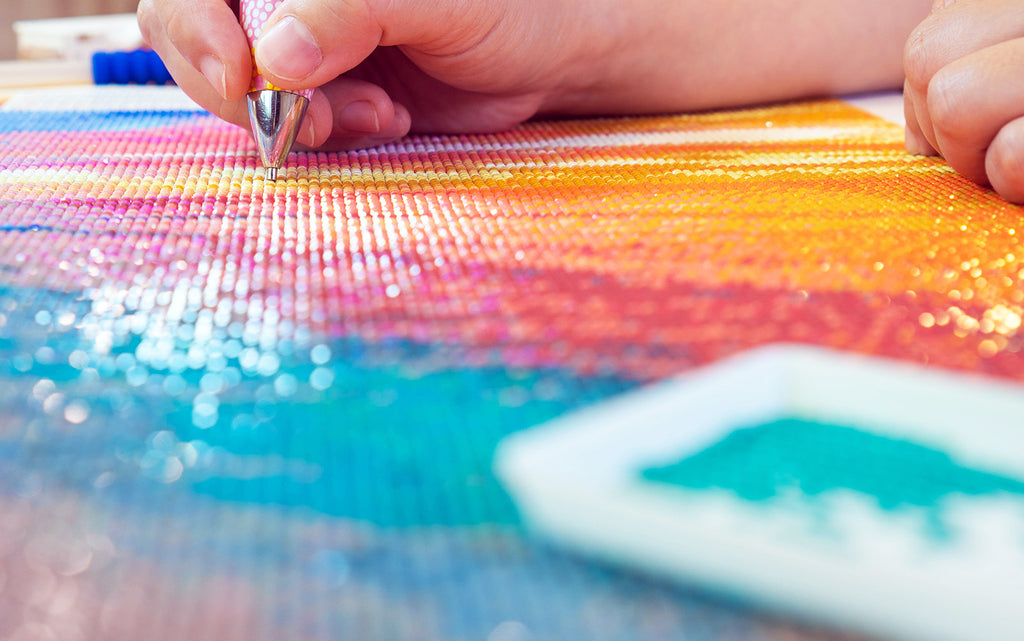
Step 1: Seal your Diamond Painting.

Before you set the canvas on the Stretcher Bars, you have to use a Sealer to cement all of your diamonds in place. Learn more about How To Seal Your Diamond Painting.
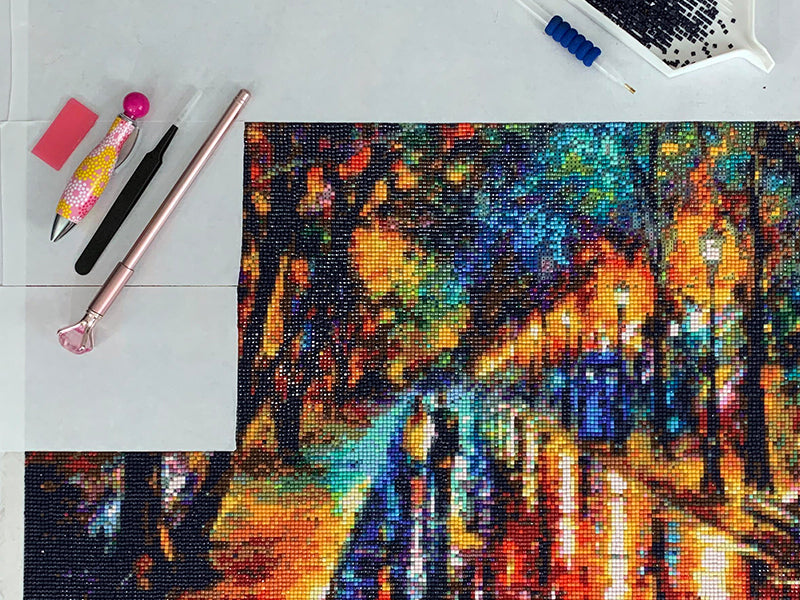
Step 2: Take inventory.

Each Paint With Diamonds Wooden Frame Stretcher Bar kit comes with:
- 4x Wooden Stretcher Bars
- 4x "U" Nails
- 4x Corner Wedges
Step 3: Lay your canvas out face down on a smooth, clean, flat surface. Lay out each Stretcher Bar along the edges of the canvas.

Make sure each stretcher bar is flush up against the edge of the painting! Otherwise your final product might not come together well.
Also take note that the skinny (narrow) half of each stretcher bar should be facing inward.
Step 4: Use tape (not included) to secure the bars in place on the canvas.

Step 5: Remove the double-sided adhesive tape on each stretcher bar. Then curl up all 4 sides into each other. Squeeze the corners to secure all of the stretcher bars in place.

Step 6: Insert each "U" Nail into the pre-drilled holes on each Stretcher Bar. Once all 4 "U" Nails are inserted by hand, use a hammer to secure the nails to the Stretcher Bars.

Step 7: Insert the Corner Wedges into the grooves on the side of each Stretcher Bar. Use a hammer to secure the Corner Wedges into place.

That's it folks! If you have any helpful framing tips and tricks, leave them in the Comments Section down below!