
So at this point, you've probably baked all the bread you possibly can. Or maybe you made it all the way through Netflix's massive catalog.
Either way, who doesn't need an awesome DIY project to do in their stay-at-home spare time?
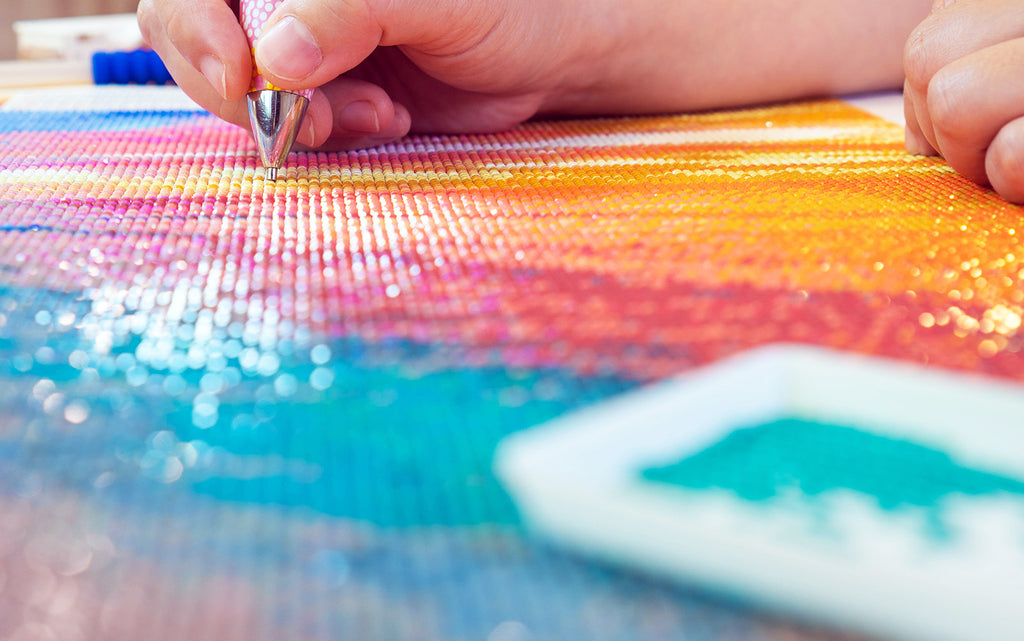
This week, our friends over at The Diamond Painting Club show us how to jazz up our Diamond Painting pen collection using gorgeous marbled clay.
If you're feeling crafty and want your pens to look absolutely out-of-this-world, just watch the video or follow the steps below! 🌌
Step By Step: Create Your Own DIY Marbled Clay Pen For Diamond Painting

You Will Need:
- A covering for your work surface
- ½ ounce polymer clay of your choosing
- A diamond painting pen base
- A clay knife
- A clay machine (or other apparatus to roll clay evenly)
- Oven (conventional or toaster)
- Sheet pan
- Two hot pads
Optional:
- Oven thermometer
- Dowel rod that fits through pen base
- Aluminum foil to tent pen
- 320 grit sandpaper
- Varnish
- Foam brush
Step One:
Cover your work surface. You can use aluminum foil, wax paper, or a silicone baking mat, or even old canvas covers.

Step Two:
Choose your clay. Any polymer clay will do, but Diamond Painting Club uses Sculpey Premo. You can use any color combination that floats your boat. In the video, Diamond Painting Club uses pearly colors that adds a really nice sparkle!
You’ll want to use about a half ounce of clay total, which equates to a quarter of one block. That means each color should be about 1/12 of a block if you’re looking to keep an even amount of each color in your pen.

Step Three:
Condition your clay by rolling it around in your hands, squishing it, and warming it up a bit so it’s easier to work with. Polymer clay can be pretty tough right off the block so it may take a couple minutes of squishing before you’re ready to move on. It should be soft and easily moldable when you’re done conditioning.
Step Four:
Roll each color into a snake. Remember Play-Doh snakes when you were a kid (or maybe when your kids were kids)? It’s just like that.

Step Five:
Stick your snakes together and give them a good twist. The whole point here is to mix your colors together, so don’t worry about it if they don’t smoosh together evenly, or even if the snakes start out not quite even.

Step Six:
Fold your new twirly snake in half and twist it again. Then roll it out into another snake. Continue this fold, twist, and roll as many times as it takes for you to be happy with the look of the snake.

Step Seven:
Shorten your ideal-looking snake. To do this, you’ll start at one end and kind of squish the snake back into itself, inching your way down the snake so it gets thicker and shorter. You’ll want it to be just slightly longer than your pen base.

Step Eight:
Run your newly shortened snake through the clay machine to flatten it. If you don’t have access to a clay machine, a pasta machine, a rolling pin, or even a smooth glass will do the trick. Just make sure that your clay is rolled out to an even thickness. You’ll have a vaguely tall oval shape when you’re done rolling it flat.

Step Nine:
Choose which side of your polymer pancake you want to show on your pen. Lay that side face down on your work surface.

Step Ten:
Place your pen, length-wise, along the long edge of the clay pancake closest to your body.

Step Eleven:
Using a clay knife, cut along the edge at approximately a 45° angle. This will help the edges come together for a smoother finish.
Step Twelve:
Trim the clay at each end of the pen. Are you getting the feeling that you’re cutting out a pen-sized rectangle yet? You’re probably doing it exactly right!

Step Thirteen:
Roll the clay around the pen. There will be leftover clay, but that's to be expected! Trim the clay down to pen size at a 45° angle again so that you form a smooth seal.

Step Fourteen:
Smooth the joint down by smooshing the edges together and squishing in any gaps that may have occurred over the length of the pen.

Step Fifteen:
Roll the pen to smooth out the pen and the joint in particular. Focus on rolling towards the ends to create a tapered off, rounded look. Roll it and roll it some more until it’s perfectly smooth.
Step Sixteen:
Pinch off the excess clay that has crept beyond the ends of the pen. Smooth out the ends the best you can with your hand or by shaping gently against a hard surface.
Roll gently again to remove any imperfections that remain.

Step Seventeen:
Press each end of the pen flat against your work surface to remove any excess clay. This provides a smooth end so that your Diamond Painting ends fit perfectly into your custom pen.

Step Eighteen:
Preheat the oven to 275°. You can use an oven thermometer to ensure that it’s reaching the right temperature.
An oven that’s too hot will cause the clay to become discolored and an oven that’s too cold won’t allow it to harden properly, so an accurate temperature is much more important for this project than it is for, say, cookies or something.

Step Nineteen:
While the oven is preheating, you’ll want to get your pen on the pan. You can place a dowel rod through the center of the pen and rest it on the sides of the pan to ensure that the pen doesn’t touch the pan and potentially become discolored or misshapen.
You can also make a tent from aluminum foil to place over your pen to ensure that it bakes evenly.

Step Twenty:
Place the pan, complete with your pen, into the oven and bake for twenty minutes. Make sure you set a timer so you don’t forget!
Step Twenty-One:
When twenty minutes is up, remove the pen from the oven and place it between two hot pads to cool completely.

Step Twenty-Two:
If you’d like, you can sand your pen down with 320 grit sandpaper, used wet, to smooth down any ridges. You might notice there seem to be scratch marks in the pen after sanding, but they’ll disappear as soon as you hit the next step!

Step Twenty-Three:
Now it’s time to varnish! Diamond Painting Club uses Varathane Ultimate Polyurethane Water Based in a glossy finish, but you can use whatever varnish your heart desires. You’ll want to use several coats, like 4-5, and wait an hour between each coat. Be careful not to overload your foam brush or you might create drips; keep coats thin to medium in thickness. When you’re completely done, give your pen another 24 hours before you use it to let the varnish dry completely.

Step Twenty-Four:
Add your Diamond Painting ends! Since the pen base is a standard diamond painting base, pretty much any tip you have at home should fit right into it. You can use a single drill end, a 9-drill end, and anything in between!

Now You’ve Got a Cool, Functional Diamond Painting Pen!
See, it was easier than you thought it might be, wasn’t it? You don’t really need any special equipment, special skills, or remarkable talent to create a really neat pen for diamond painting.
BUT - just in case you prefer someone else does all the hard work, you can shop a variety of gorgeous Diamond Pens at Cosmic Diamonds on Etsy! 10% off and free US Shipping on orders $20+.
Comments
Sarah said:
just did this the other day, its so easy and fun. A great way to make your boring pens a little more exciting. Step by step instructions were on point.
December 16, 2020
Ann said:
Very easy love the way it came out paint with diamonds you’re the best Thanks for all the tips keep them coming
December 16, 2020